expand a Workflow Server.
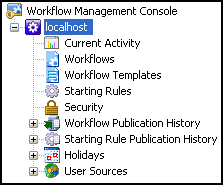 User Properties dialog box, select Browse.
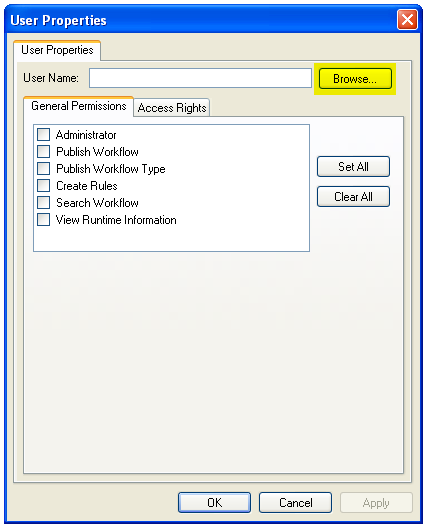 Select User or Group dialog box, under Enter the object name to select, enter the name of an existing Windows or active directory user or group. Click examples to see the syntax that can be used.
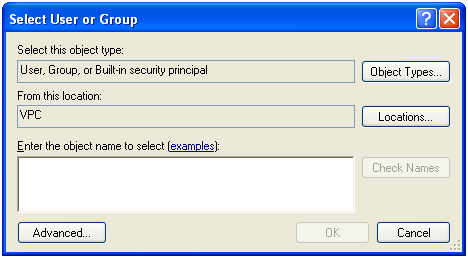
Note: Workflow 8 will only interact with users or groups that appear in the Workflow 8 Administration Console's User Sources node. You cannot search for Laserfiche users.
Advanced.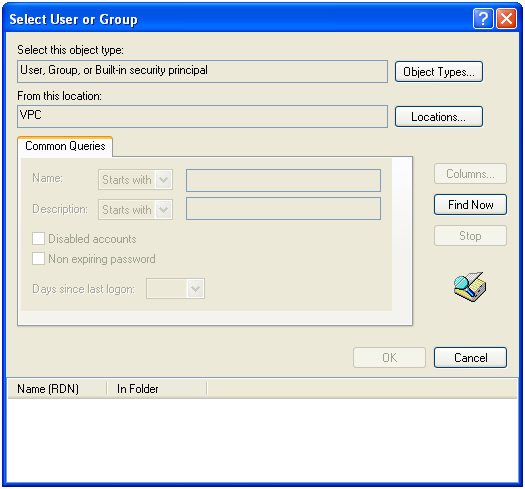
- Select Object Types to determine the type of object to search for (e.g., users or groups).
- Select Locations to define where the search should be performed (e.g., the local machine, across the active directory, a portion of the active directory).
- Under Common Queries, configure your search. Select Columns to build a more specific query based on specific properties.
- Click Find Now to perform the search.
- Select a result in the bottom pane.
- Click OK.
General Permissions tab.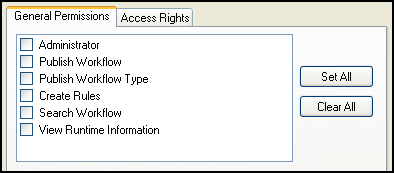
Note: Selecting Administrator grants the user all permissions and access rights to all workflows and starting rules. If you select this option, click OK and skip to Step 17 below.
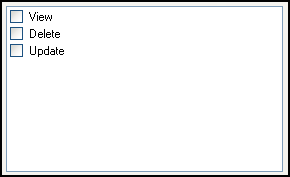
Access Rights tab to define access rights for specific workflows, workflow templates, and/or starting rules. 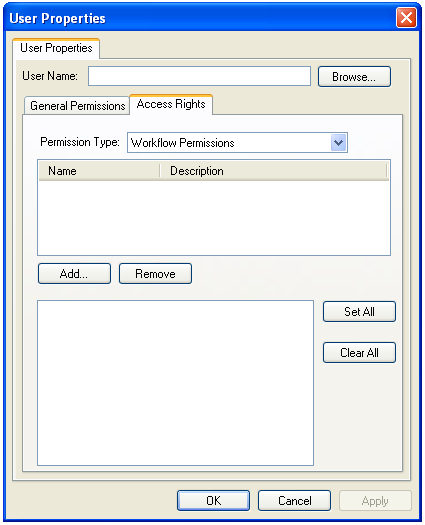 center pane.
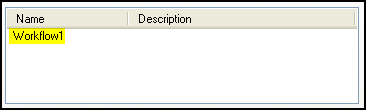 access rights you would like this user or group to have.